XMB Wallpaper Tutorial:
Here's a basic stuff that i do. I am not a pro at photoshop, so i don't think anyone will have difficulty with this.
Make sure the image you use has a minimum resolution of 1280x720 (720p) to ensure compatibility with almost all users, though it'll be best if it's equal or larger than 1920x1080 (1080p) to ensure compatibility with all users.
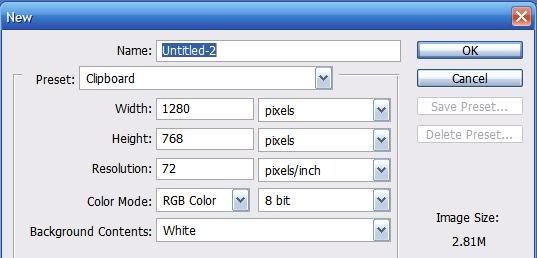
Step 1: Goto file, and create a new image. Choose either 1280x720 or 1920x1080, depending on your image size. I'm going to use 1920x1080 as the image i am using is big.
 Step 2:
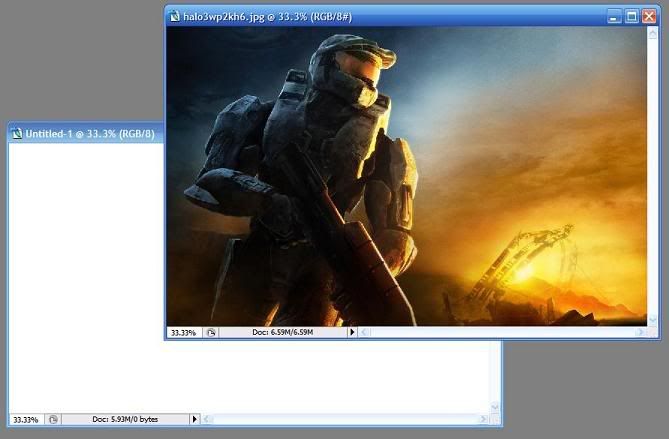
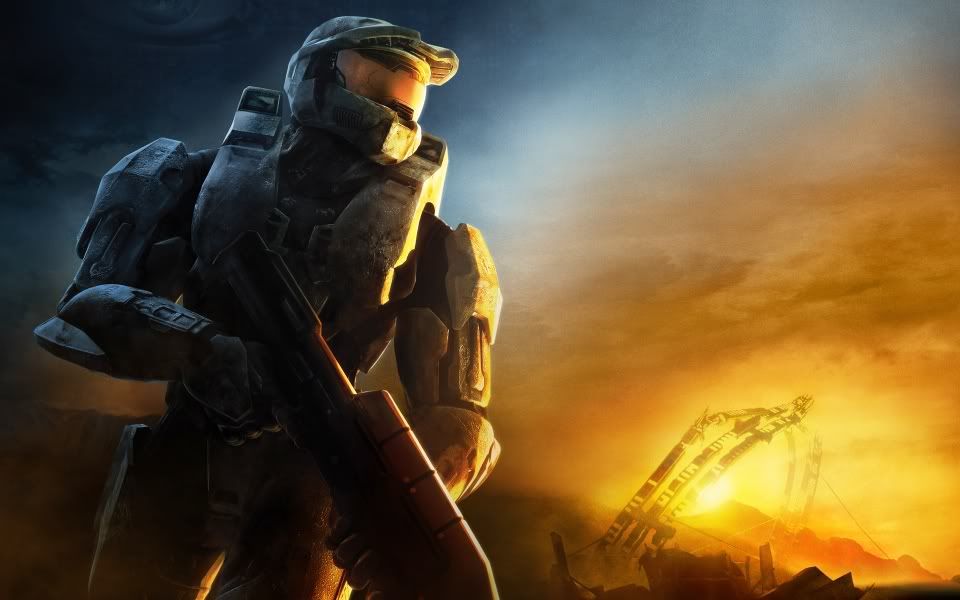
 Open the image you are willing to use as your wallpaper. I am going to use
Masterchief as an example. The image size is 1920x1200.
 Step 3:
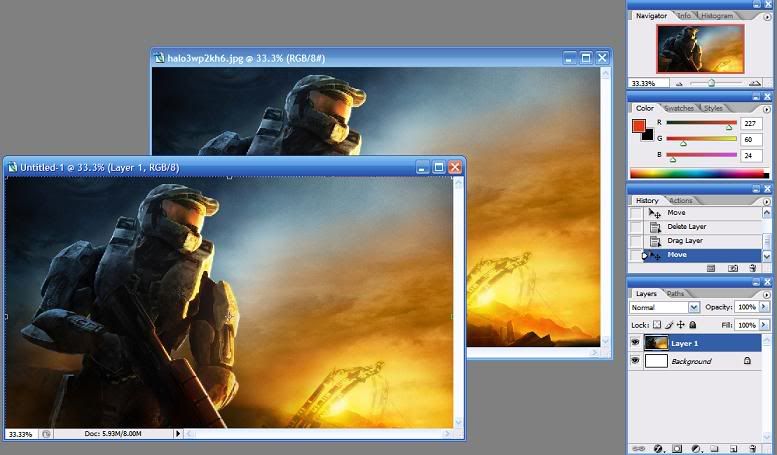
 Drag
Masterchief into the new canvas that you created in
Step 1. You can close
Masterchief as you no longer need it.
 Step 4:
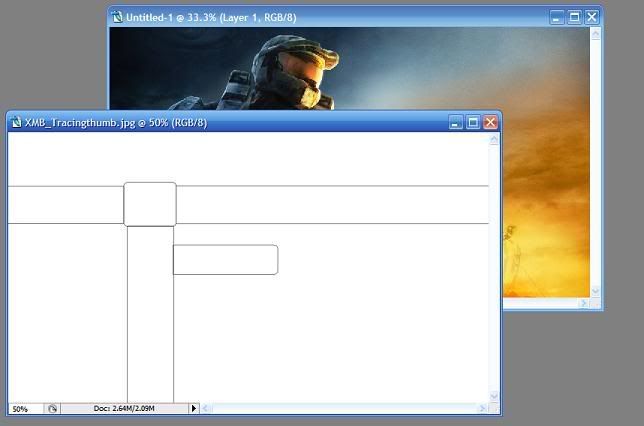
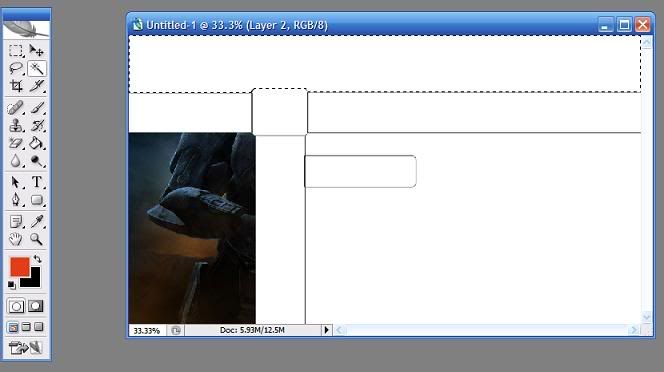
 Open the
XMB Tracing Template. Once opened, drag it to the new canvas you created in
Step 1. You can close
XMB Tracing Template as you no longer need it.
 (Step 5 is only required for those who are creating 1080p Wallpapers. Those creating 720p should ignore it).
Step 5:
(Step 5 is only required for those who are creating 1080p Wallpapers. Those creating 720p should ignore it).
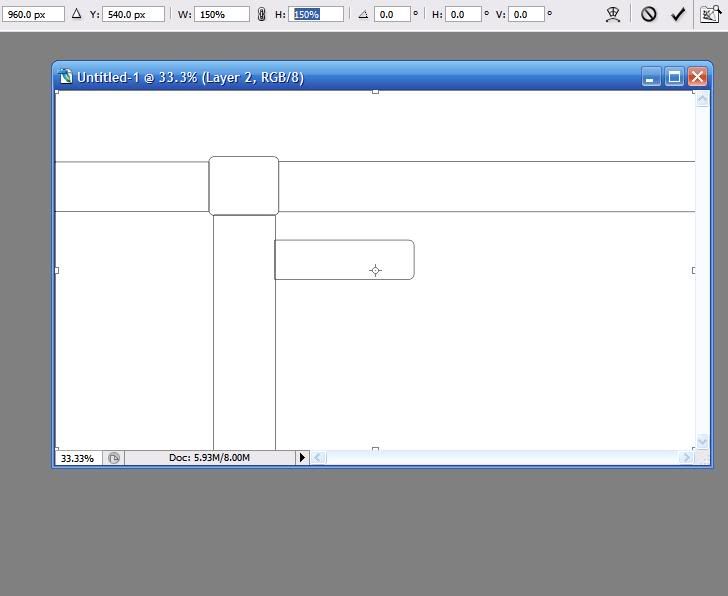
Step 5: The
XMB Tracing Template that i created is 1280x720, so in order for it to fit in the new canvas, i have to increase it's size. Choose the
XMB, click on Edit > Transform > Scale. On the top, you will see the Width and Height Percentage. Increase them both by 150% and apply.
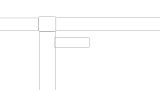
 Step 6:
 Use the Magic Wand and remove all the borders that you dont require.
 Step 7:
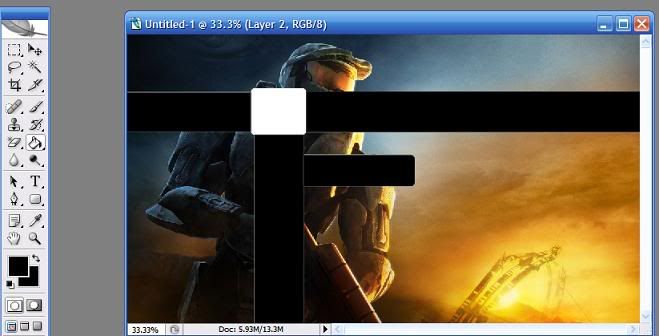
 Color the outer four rectangular boxes black using Bucket Tool. Fill up any white gap on either of the rectangular boxes (not the square box) if you see any.
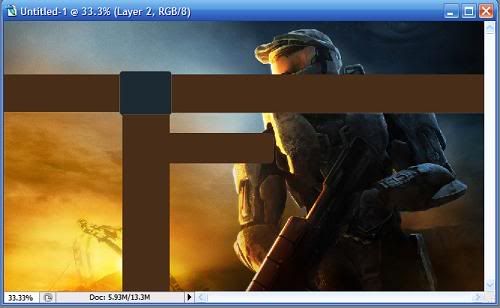
 Step 8:
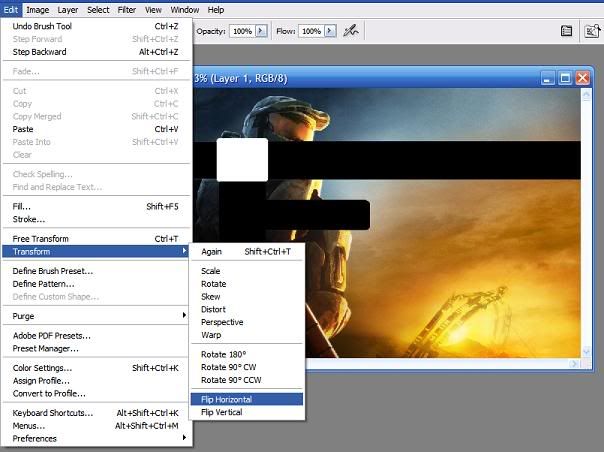
 Move/flip/scale the background wallpaper (In this case,
Masterchief) to suit your need. I flipped him horizontally because the XMB was covering him up.
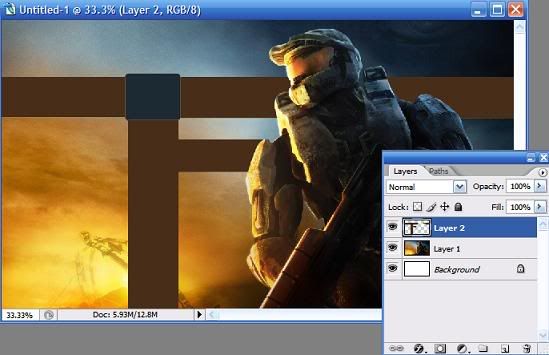
 Step 9:
 Change the color of rectengular and square boxes to suit the background, making sure that the color of square box should be different than rectangular boxes. Also, make sure they are dark colors are light colors might overlap the white text in XMB.
 Step 10:
 Crop the XMB if required. In my case, i think it was overshadowing
Masterchief, so i cropped it a bit.
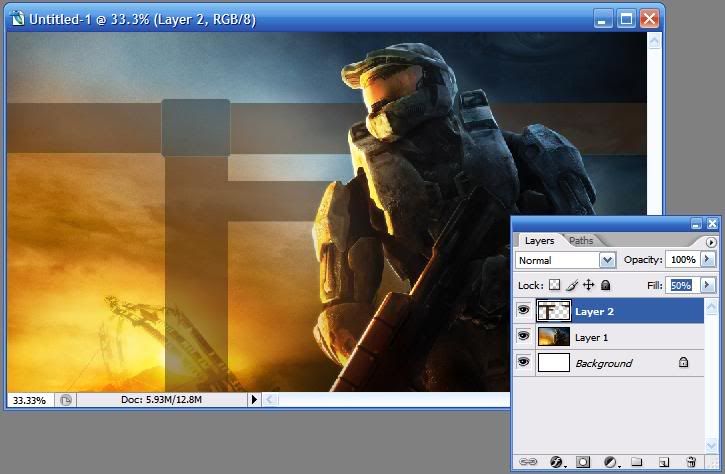
 Step 11:
 Change the transparency of the XMB to 50% (marked as "Fill").
 Step 12:
 Save the image as jpg, and don't forget to share it with us GAFers
")
Let me know if anything is confusing. Here's the final wallpaper:
 Templates used in the following tutorial:
XMB Tracing:
Masterchief:


 LinkBack URL
 About LinkBacks

 ¡Bienvenido a mundodvd! Regístrate ahora y accede a todos los contenidos de la web. El registro es totalmente gratuito y obtendrás muchas ventajas.
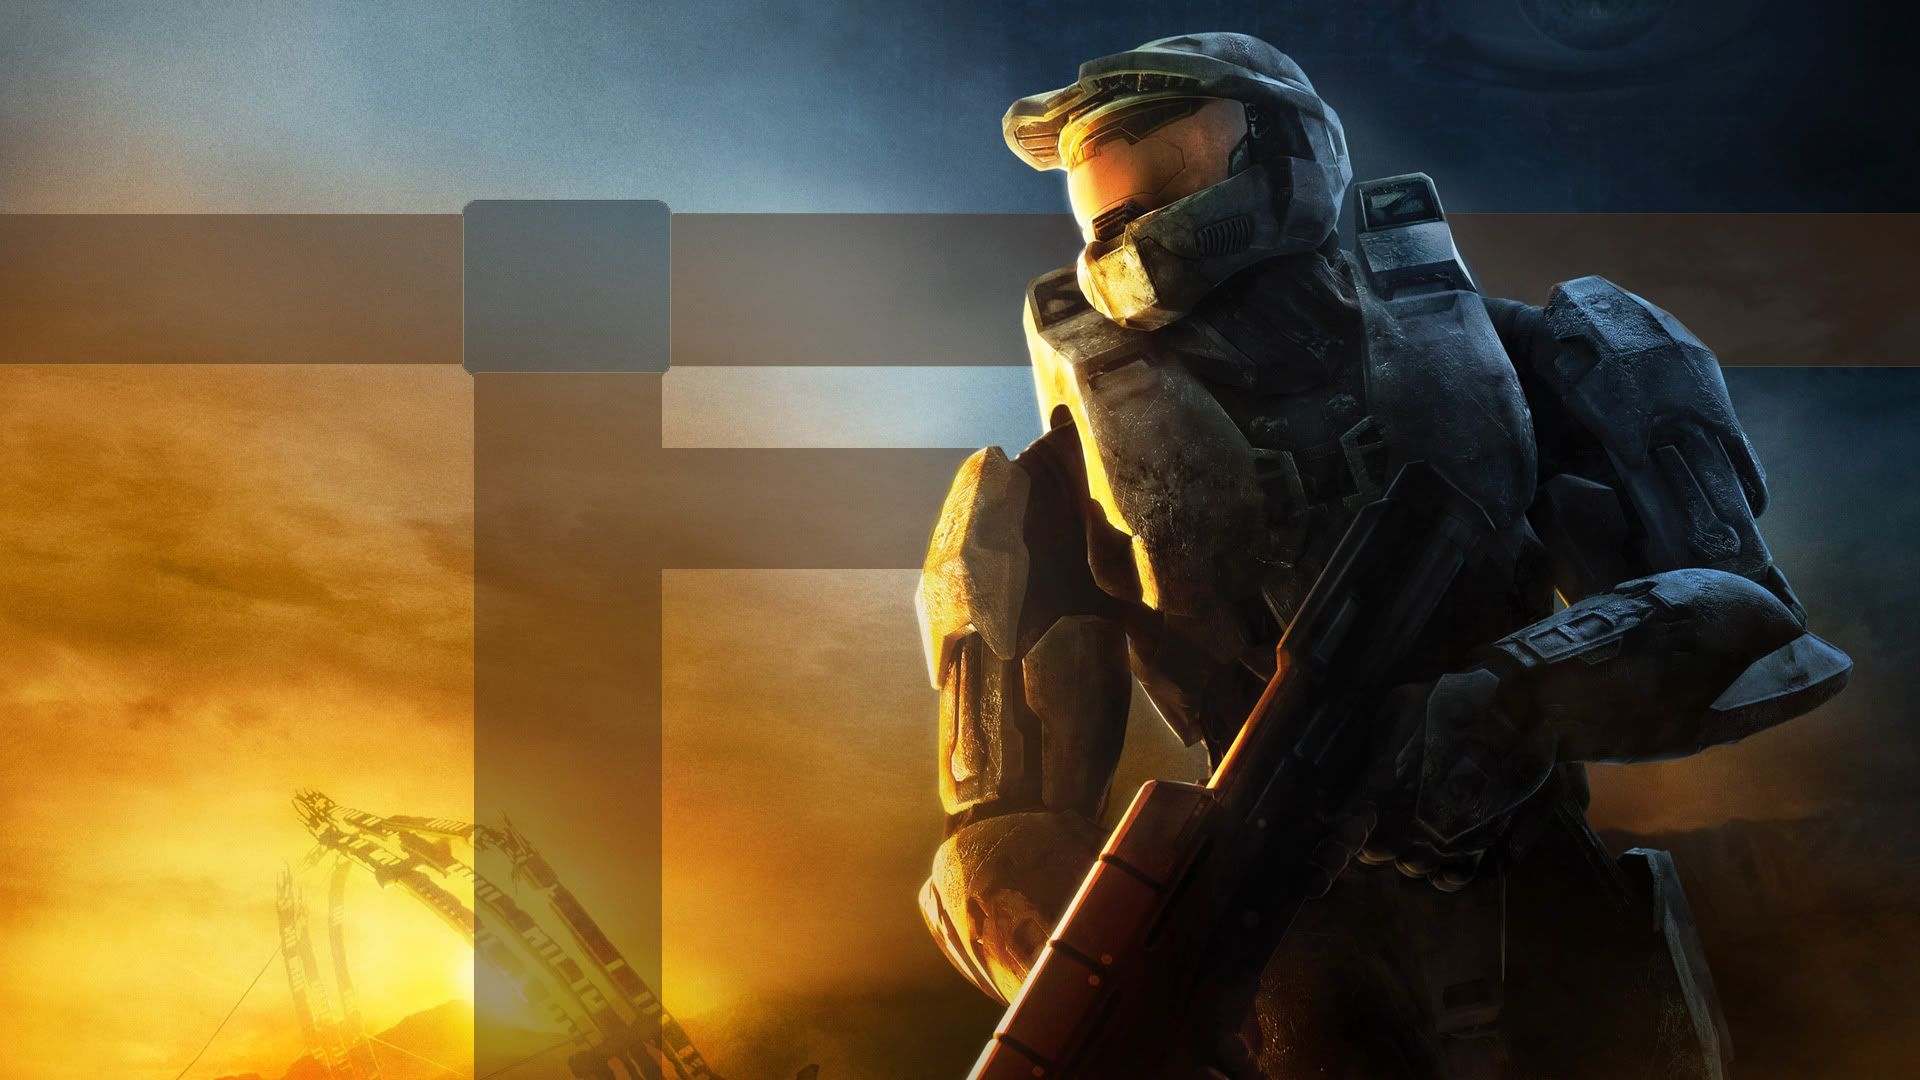


 Citar
Citar