

 LinkBack URL
 About LinkBacks

Panasonic: Erste Infos zum neuen HDTV-Projektor PT-AE 700
05.08.2004 (ks)
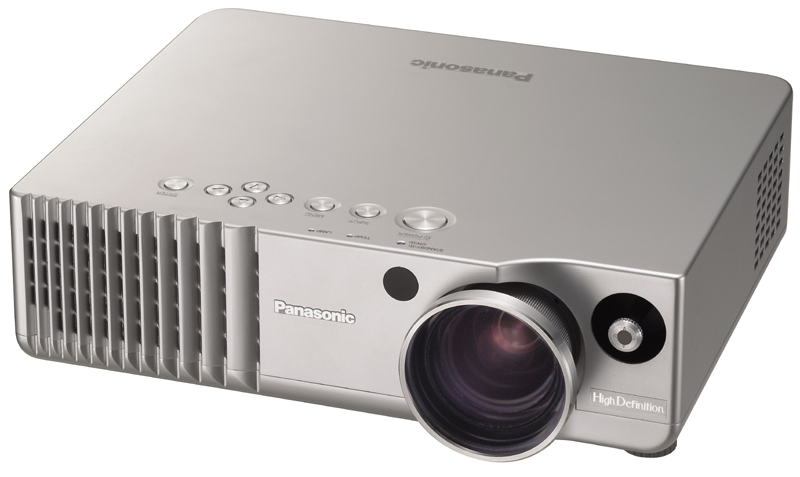
Von Panasonic gibt es erste Infos zu neuen LCD-Projektor PT-AE700, der die Nachfolge des PT-AE500 antreten soll. Ebenso wie der Vorgänger wird auch der PT-AE700 über eine Auflösung von 1280 x 720 Pixeln verfügen. Neu ist der Lens-Shift, der sich ähnlich wie bei einigen Sharp-Projektoren über eine Art Joystick an der Frontseite einstellen lässt. Über eine DVI-Buchse wird der PT-AE700 nicht mehr verfügen, dafür setzt Panasonic jetzt auf HDMI. Eine PC-Verbindung lässt sich aber weiterhin ohne Adapter über eine VGA-Buchse herstellen. Außerdem bietet der Projektor noch einen YUV-Eingang, eine SCART-Buchse sowie Anschlüsse für S-Video und Composite. Der Kontrast soll bei 2000:1 liegen, die Helligkeit wird mit 1000 ANSI-Lumen angegeben. Das Betriebsgeräusch soll laut Panasonic im Normalmodus bei 27 dB liegen. Der Panasonic PT-AE700 wird voraussichtlich ab 1. September zum Preis von 1999 EUR erhältlich sein.
Basicamente;
1280x720
Lens Shift nuevo, ajustable con joystick como en los Sharp
Contraste 2000.1
Luminosidad 1000 ANSI
Ruido 27 db
Entradas;
HDMI, VGA, NO DVI, Euroconector, Componentes, S-Video y Video Compuesto
Disponible desde Septiembre por 1.999
Iris????
Pero la gran duda, VB?????
Fotografia de parte trasera con sus conectores;
http://www.homecinema-fr.com/forum/download.php?id=9269
Ya empezamos a tener noticias.
Nacho.
</p>Editado por: <A HREF=http://p216.ezboard.com/bmundodvd43132.showUserPublicProfile?gid=nachin11> nachin11</A> fecha: 5/8/04 23:24
 ¡Bienvenido a mundodvd! Regístrate ahora y accede a todos los contenidos de la web. El registro es totalmente gratuito y obtendrás muchas ventajas.

 Citar
Citar